This Unreal Engine update, 5.4, is one of the most anticipated launches in motion design. Once called Project Avalanche, it is re-branding as Unreal Engine Motion Design and is now available! Unreal Engine is now unlocking a new era as it caters directly to motion designers with incredible new features.
Unreal is going straight at the motion design market and is looking to gobble up the whole industry pie with a shot across the bow of big 3D software apps like C4D and Blender. The fight is on! In this article I’ll go over all of the new features. But first:

In preparation for this moment, we created the world’s first Unreal material library, designed for high-end professional motion graphics
One new feature is the Unreal Engine Motion Graphics Mode, an environment aimed directly at motion graphics designers with a targeted tool set. This includes specialized 2D tools, intuitive hierarchies, a full collection of 3D shapes, cloners, effectors, modifiers, animators, and features for non-linear animations.
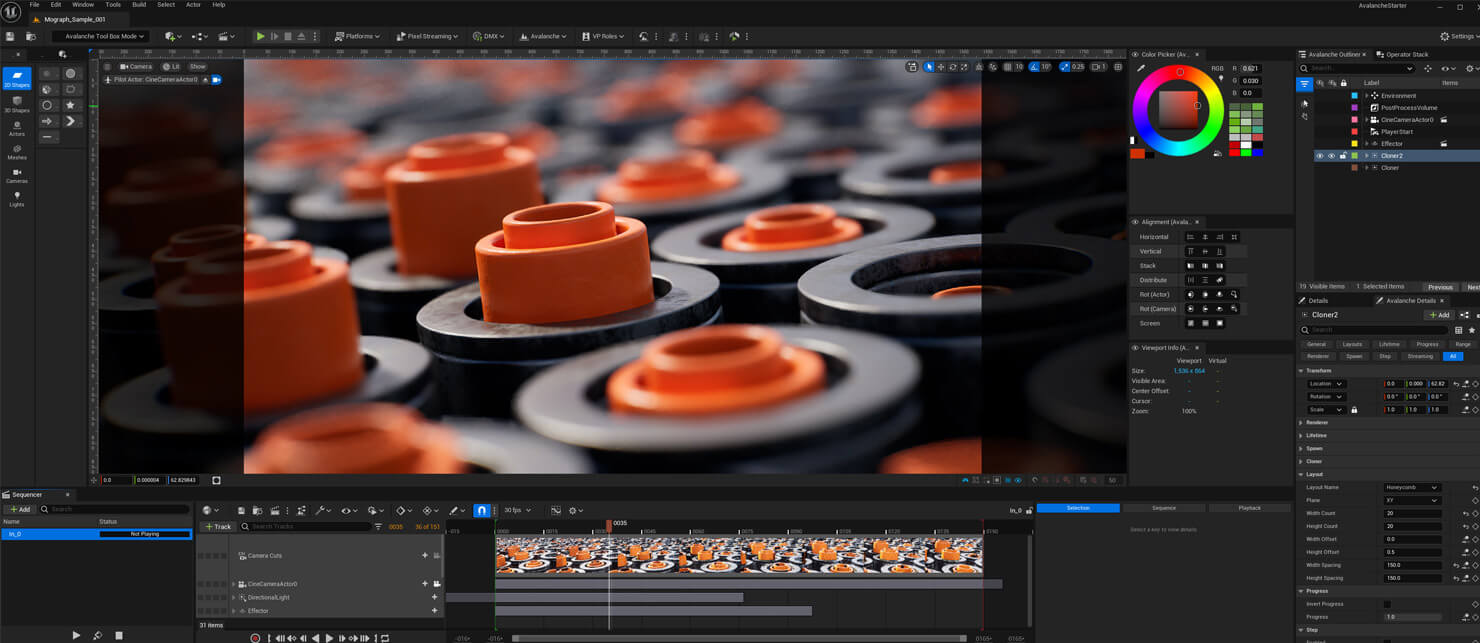
Another new feature is the Motion Design Viewport which is a huge game-changer for motion artists. It includes:
1. 2D Grid and Rulers: These visual aids are perfect guides for precise content placement.
2. Snapping: Elements effortlessly lock into place making everything quicker and more precise.
3. Pan and Zoom: Enhance your view and focus on specific details with the new pan and zoom.
4. Canvas Borders Beyond Camera View: Extend your canvas beyond the camera view. This lets you to visualize the entirety of your design.
5. Drag and Drop Workflow for 2D Shapes: Simplify your design process with a user-friendly drag-and-drop workflow for 2D shapes.
6. Transform Panel for Quick Access: Efficiently manage and adjust elements with the transform panel.
7. Viewport Background Images or Solid Colors: Customize your design environment with background images or solid colors in the viewport.
8. RGBA – Preview Modes: Preview your design with precision using RGBA modes.
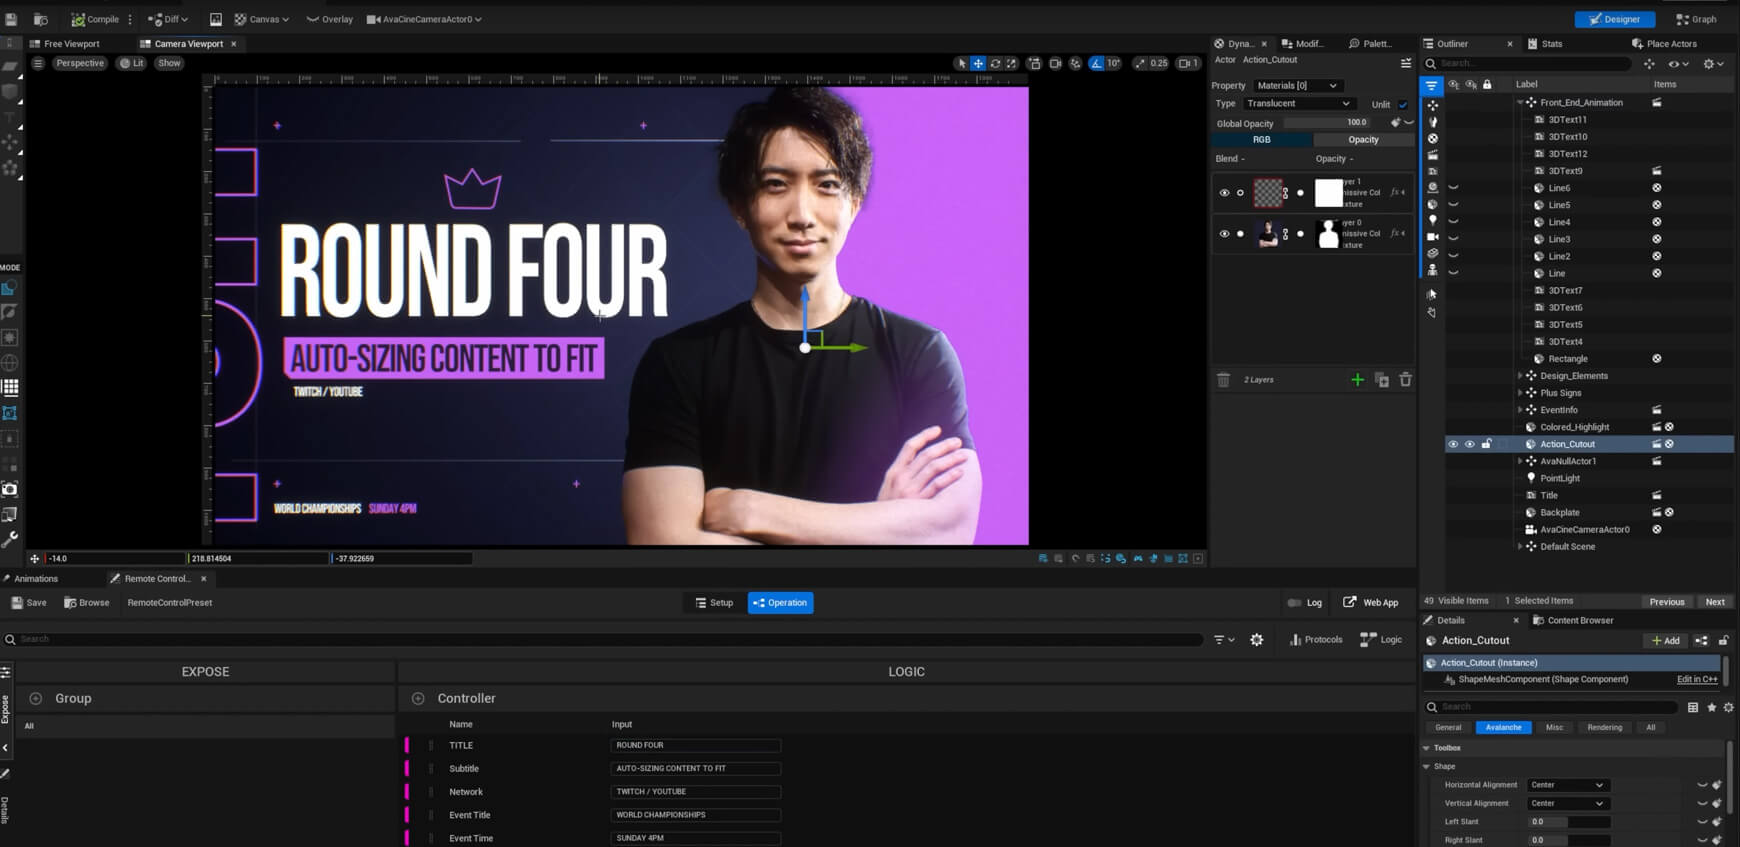
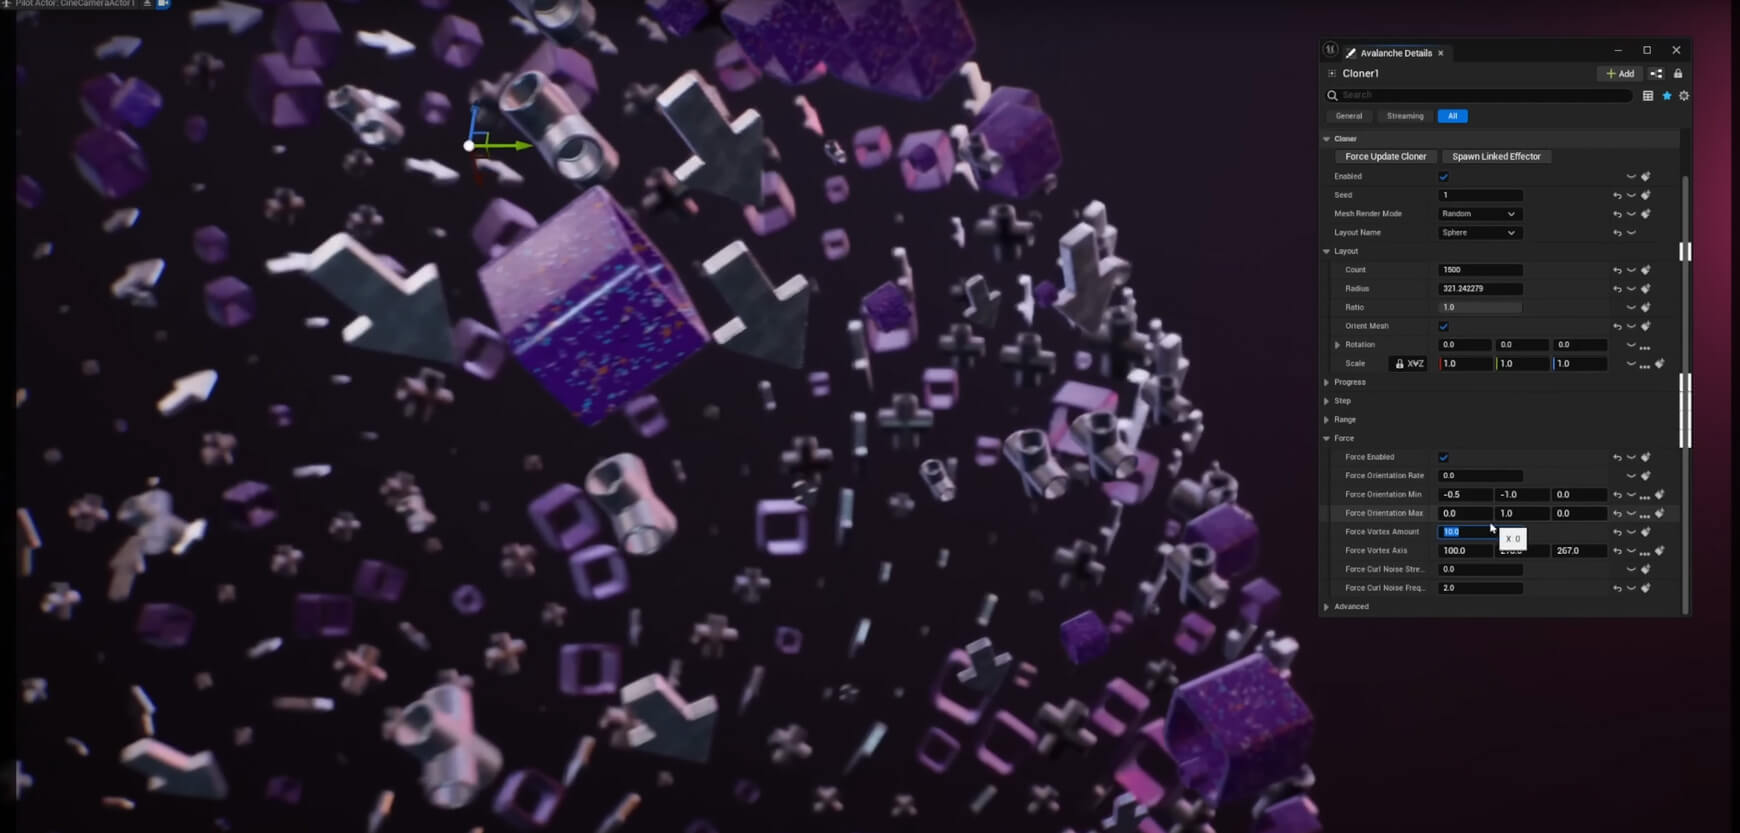
You have tons of creative power unlocked with the new and intuitive Cloner and Effector system. Cloners are built on top of Unreal Engines’ powerful Niagara particle system. You can quickly experiment with infinite variations and let your designs come to life. The cloner includes these options: grid, sphere uniform, sphere random, circle, line, mesh, spline and honeycomb.
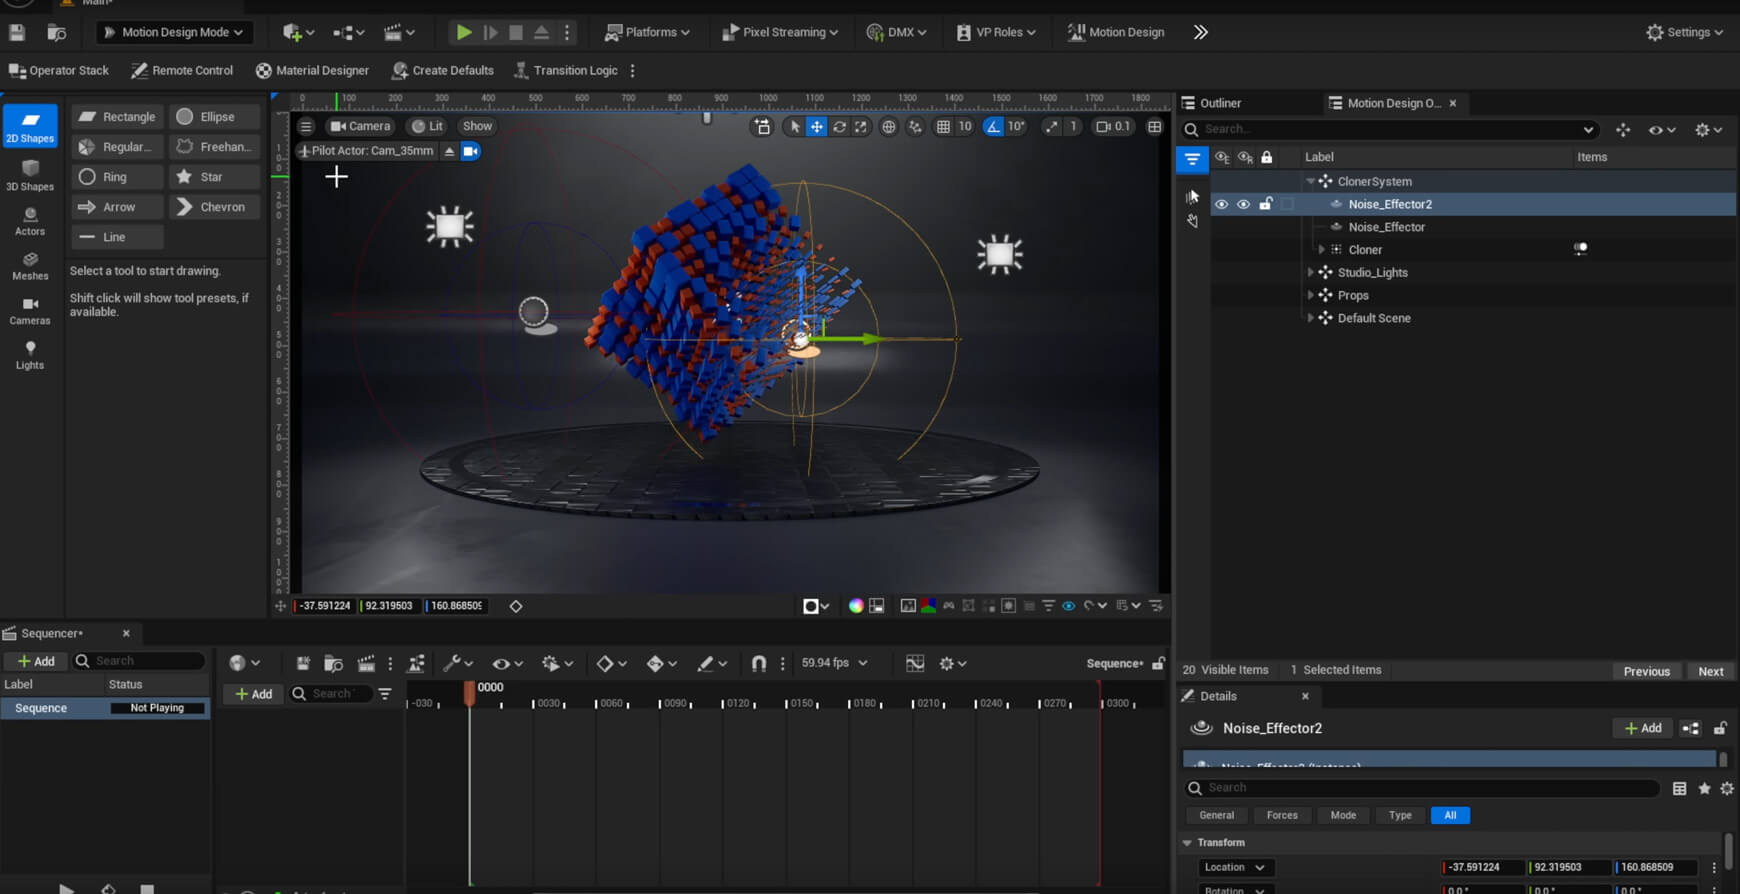
The cloner also comes with a bunch of new Effectors Features. With this you can procedurally animate clones with a radius and falloff system, Animate position, scale, rotation, use custom falloffs and easing types. You can also use forces like orientation, vortex, curl noise and gravity.
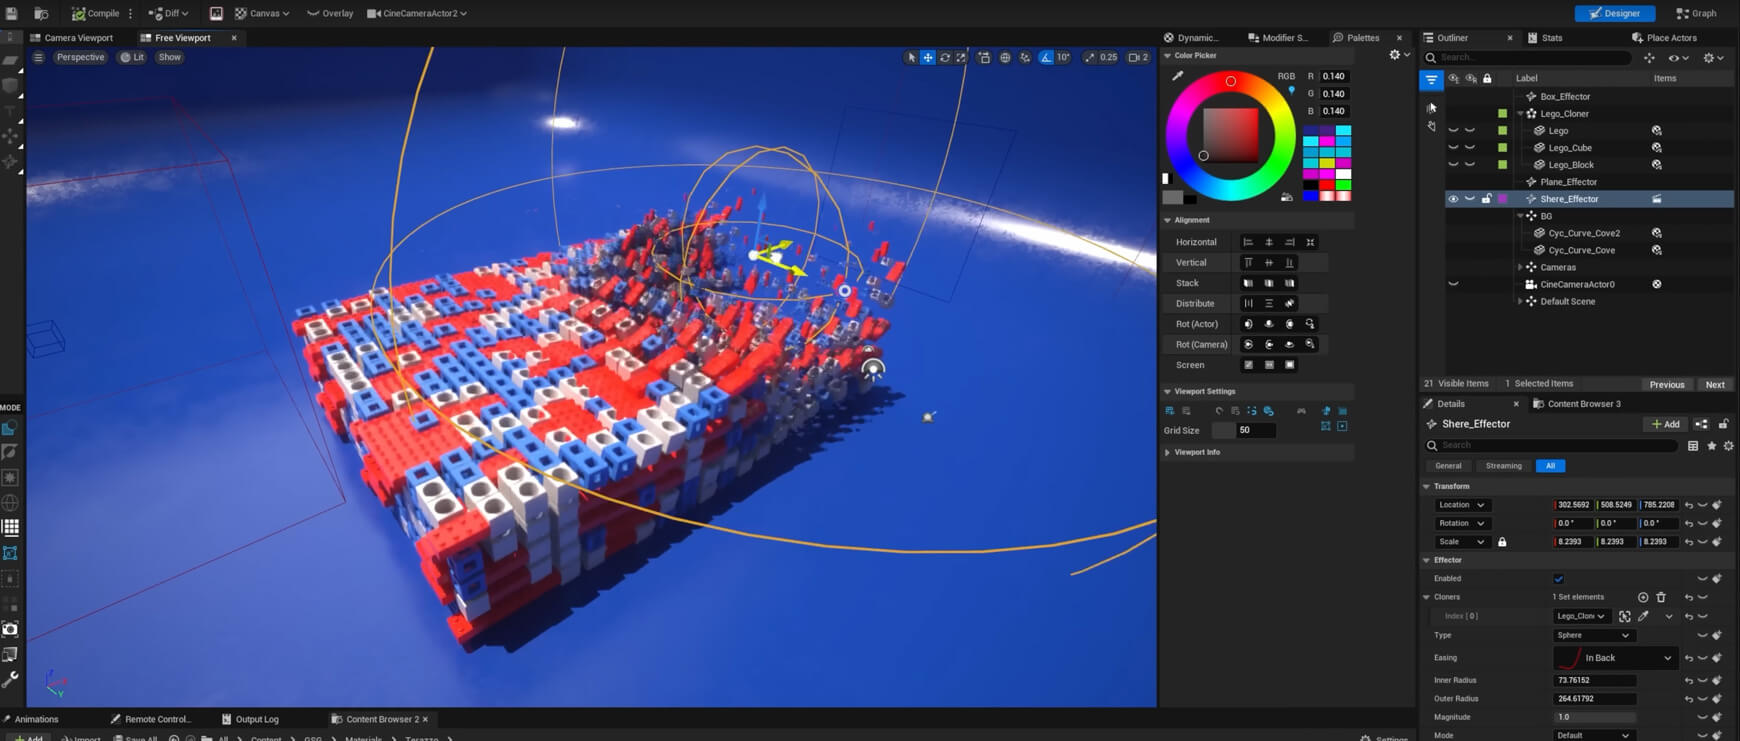
In motion design, procedural animation is imperative, and this update introduces procedural forces like Vortex, Orientation, Noise, and Gravity in the unreal effector system. Now, manipulating numerous clones becomes a painless process and you can experiment with infinite creative possibilities.
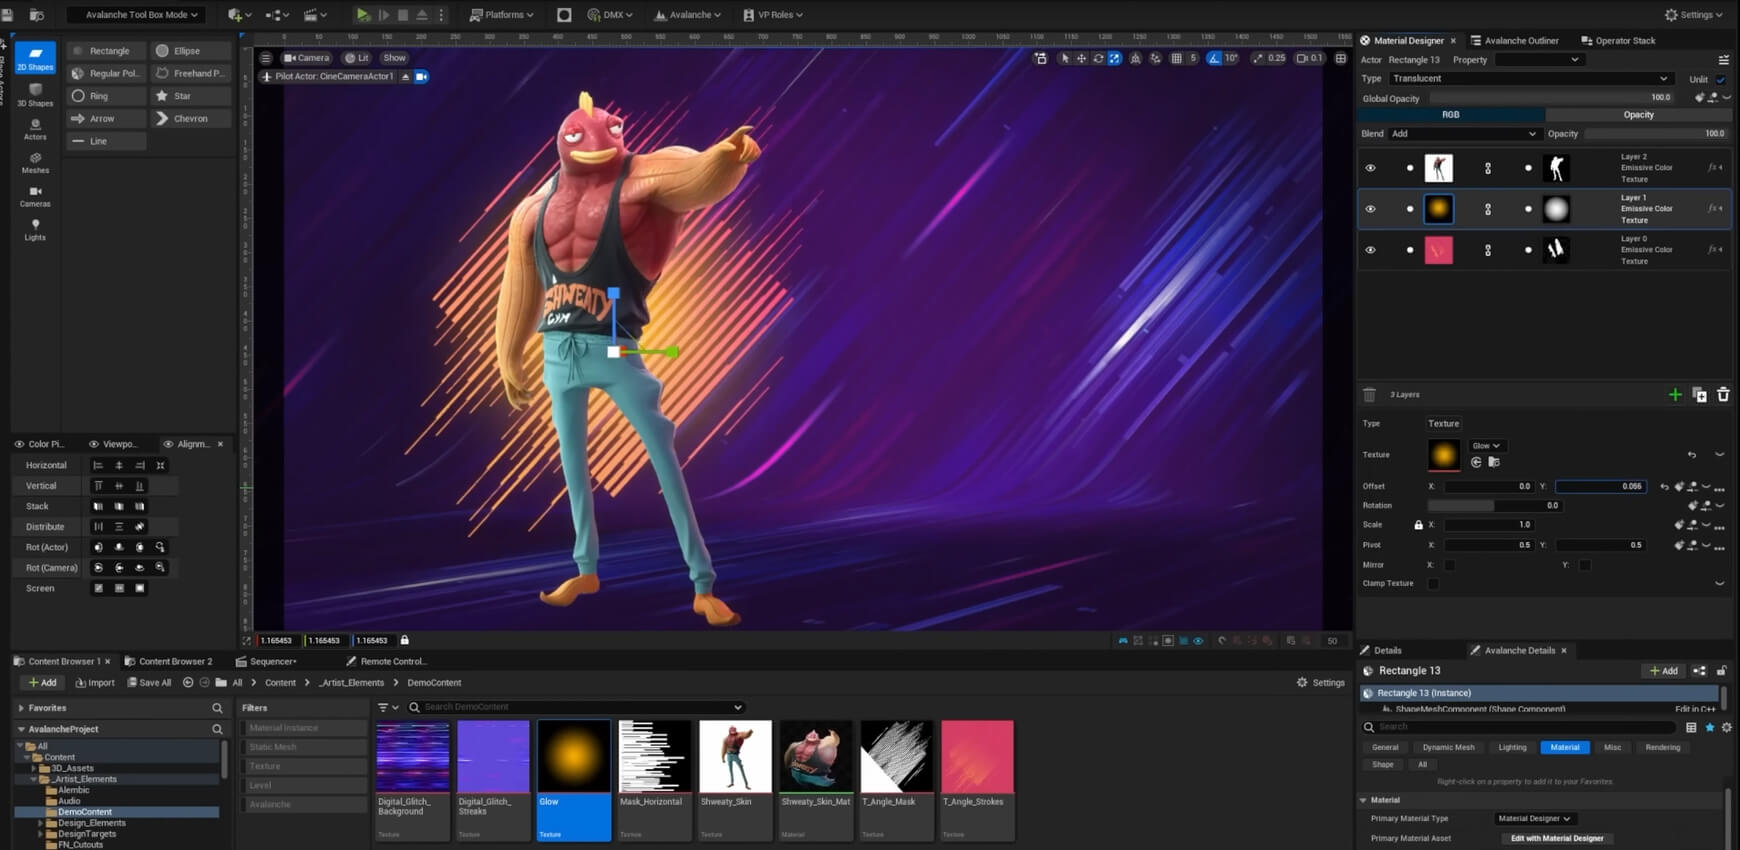
The Material Designer is a new and easy to use layer stack, so you can quickly build complex and unique materials. You will feel right at home with familiar blend modes, opacity controls, and masking features. This material designer gives you the ability to quickly build super intricate materials. Features include dockable UI panels, layer system for stacking textures, blend modes, clamping, mirroring, toggling options with no recompiling, creating dynamic materials, the ability to use keyframes and the ability to pan, scale and rotate textures with a simple UI.
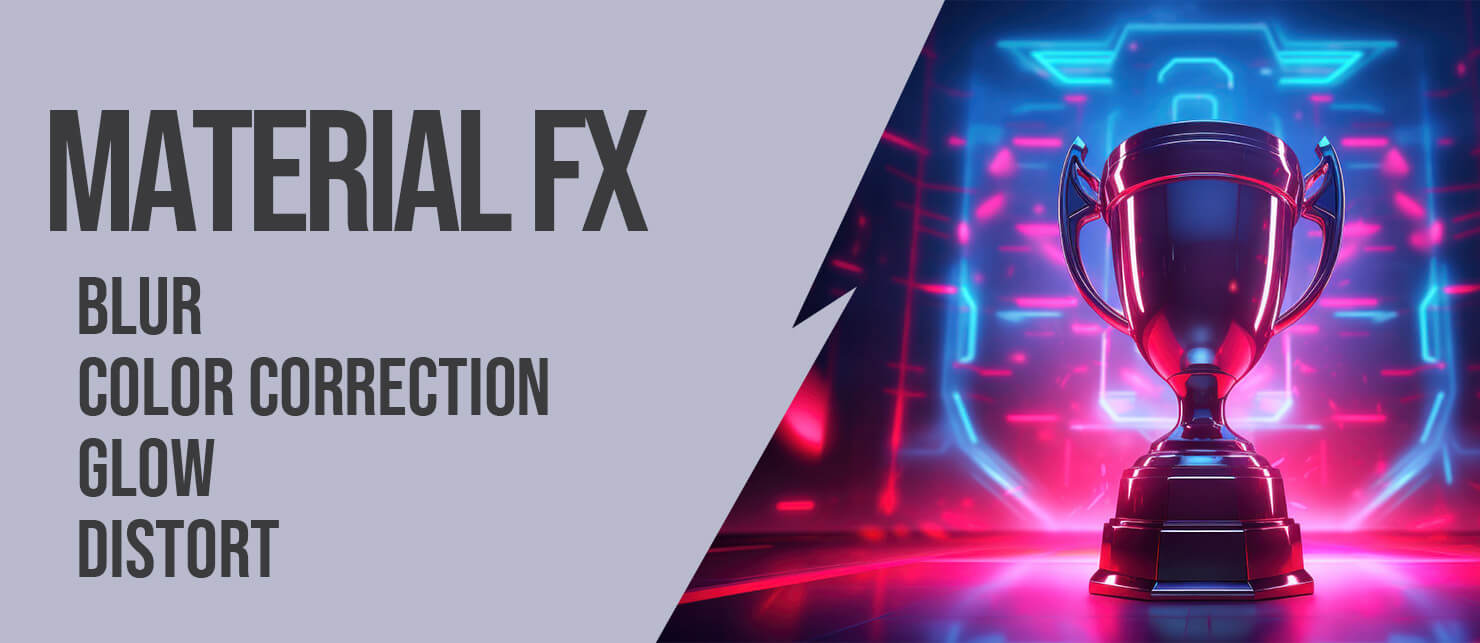
New layer effects open up possibilities for blur, color correction, and distortion effects. You can build endless shader effects within the Unreal Engine. New filters and FX include Blur/Dilate/Erode, Color Hue/Sat/Luminance, Levels, Distortion, Pixelate and Sharpen.
If you need to comply with a grid-based system, you need awesome alignment tools. These tools let you have precision and consistency in design layouts.
A versatile set of new tools for creating a wide range of shapes. These are interactive and dynamic tools that enable real-time adjustments directly within the viewport.
3D Shape:
Sphere – Options for Start Latitude, End Longitude, Start Latitude, Latitude Degree, Sides
Cylinder – Sides, Top Radius, Angle Degree, Start Degree
Cube – Bevel, Bevel Count,
Cone – Sides, Top Radius, Angle Degree, Start Degree
Torus – Slice, Sides, Inner Size, Angle Degree, Start Degree
Cog / Gear – Slice, Sides, Inner Size, Angle Degree, Start Degree
Each shape can have Bevels, Caps, and have the ability to apply materials to the bevel edges
2D: Shapes:
Rectangle – Left Slant, Right Slant, Global Bevel Size, Global Bevel Smoothness, TL, TR, BL, BR
Polygon – Points, Inner Size Amount, Bevel, Bevel Smoothness
Line, Circle, Star, Arrow and Chevron
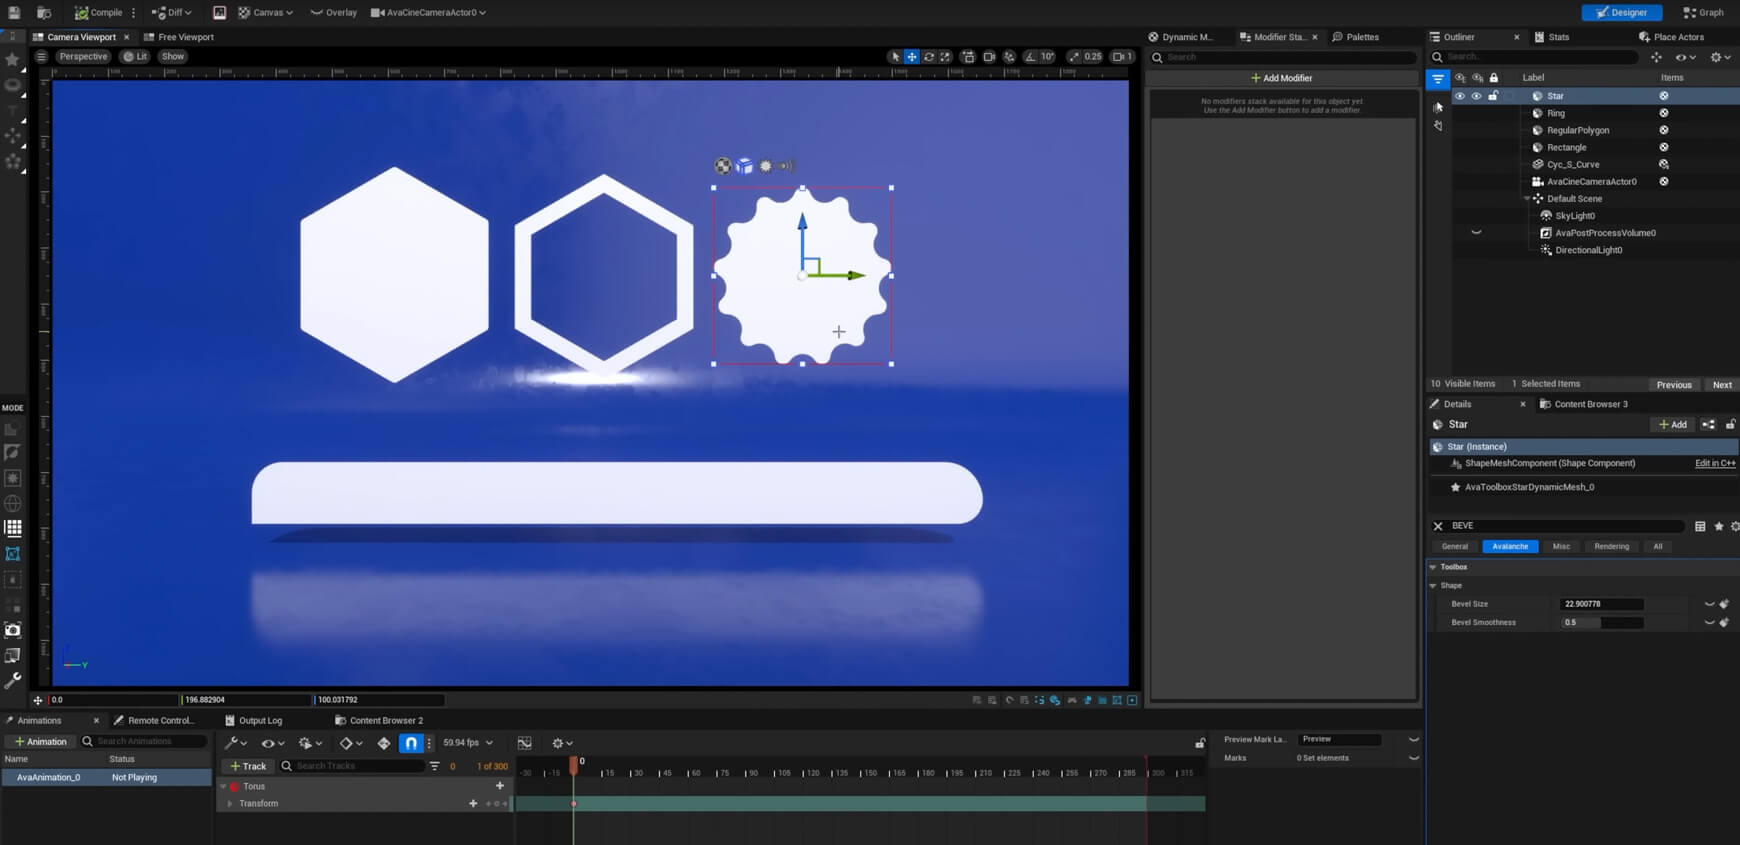
Motion designers want to procedurally modify geometry. You can now do this easily with procedural modifiers such as Booleans. Users can easily enable or disable these modifiers and rearrange their order. Geometry Modifiers are built on top of the Unreal Engine Geometry Scripting Functions meaning the system can be further expanded in the future.
Geometry Modifiers include:
Extrudes – Ability to extrude a piece of geometry in depth. The designer needs the ability to scale the UVs across the front caps, back caps, rounding, and sides.
Bevels – The ability to add a bevel to any piece of dynamic geometry.
Booleans – Subtract, Add and combine based on the channel.
Outline / Stroke – The ability to add an outline or a stroke to any 2D shape. There should be an option to expand the width from 0px to 20px for example.
Mirror – The ability to flip or mirror a piece of geometry easily with a modifier. XYZ options are needed. This should also respect the pivot.
Patterns – The ability to replicate the geometry in patterns, grid, circle, etc.
Normals – Recalculate normals.
Deformations:
Bend – Broadcast designers need the ability to bend or deform a piece of geometry.
Taper – Broadcasters need the ability to taper geometry over the length of an object.
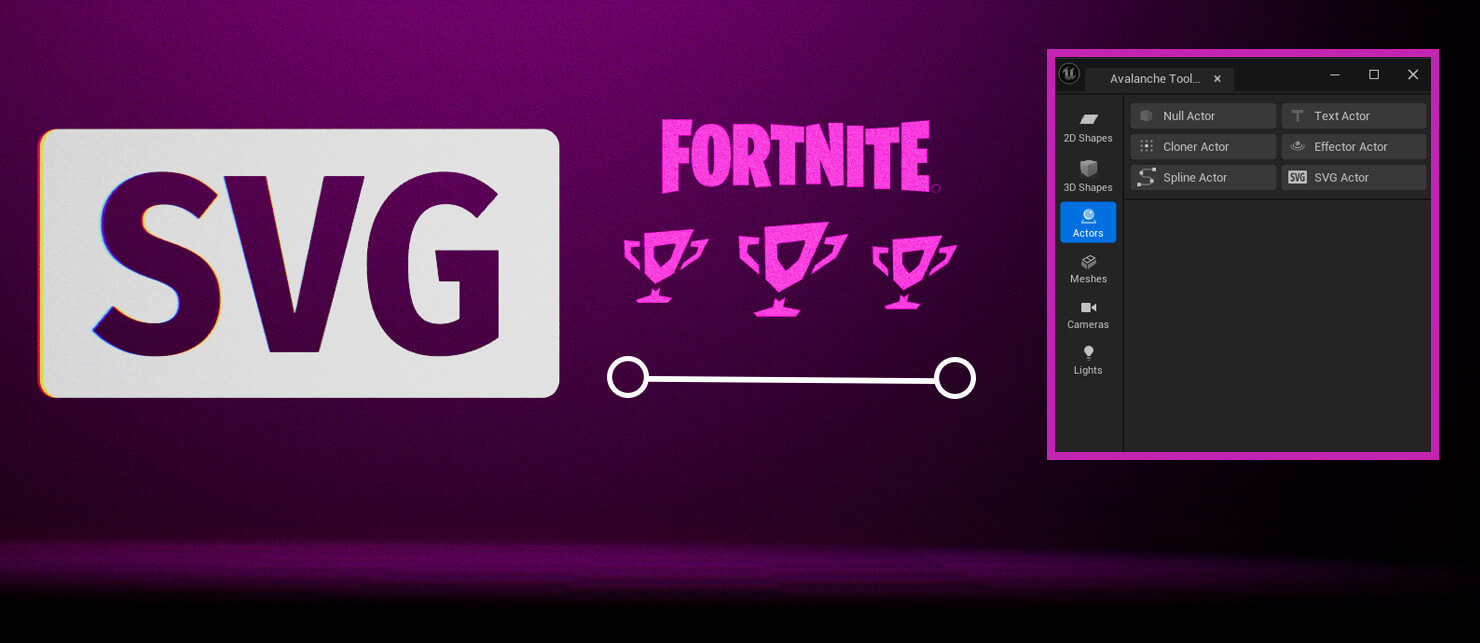
The new SVG importer is designed to generate 3D geometry from any SVG file while keeping the material colors intact. Options include: SVG Actor, Swap SVGs on the Fly, Copy & Paste SVG – XML to generate geometry, Extrude, Bevels, Caps and UVs.
Font and text workflows are near and dear to the heart of us as designers. These new tools simplify the process of navigating through and testing fonts which will help you create faster and more efficiently. Features include:
Preview fonts with out importing
Favorite Fonts
Font Categories
Import Fonts into the project
Max Width
Max Height
Scale Proportionally
Dynamic Material
Dynamic Gradients
Custom Materials
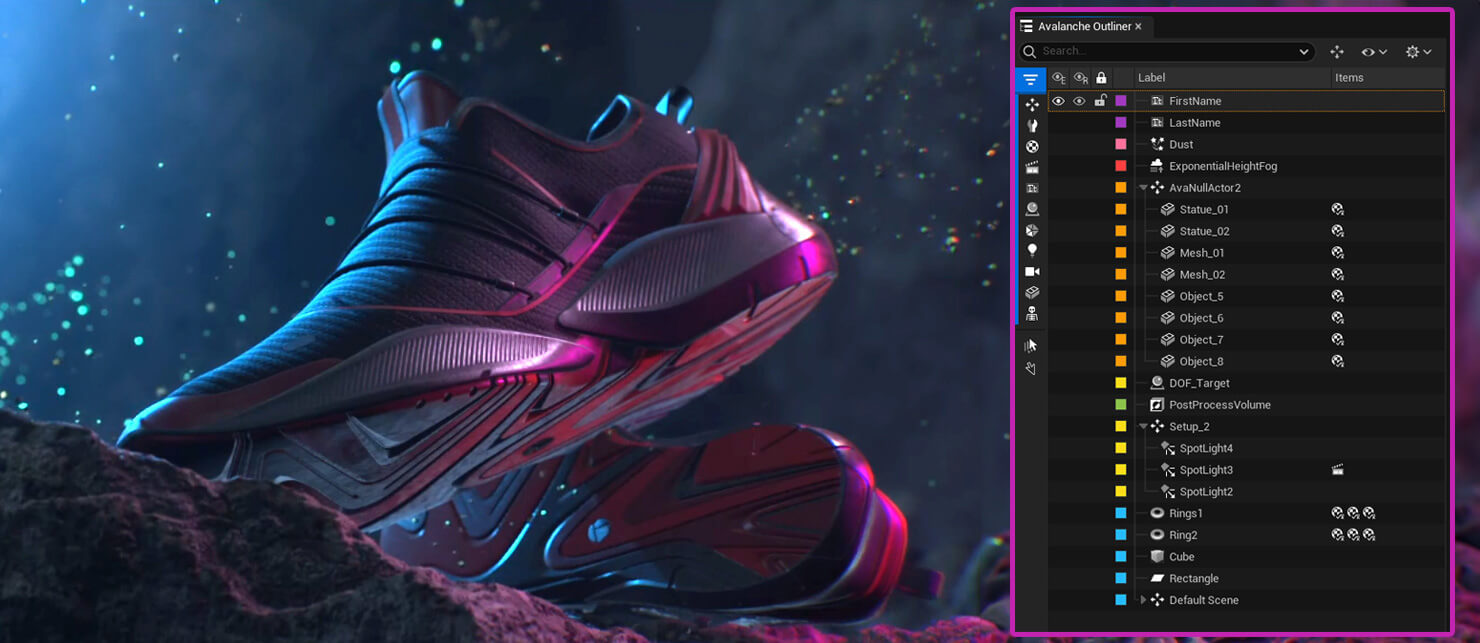
Create highly specific hierarchies for grouping objects in your motion graphics workflow. This new feature provides designers with tons of control when organizing, displaying, and managing scenes. Outliner Features include:
Non-Alphabetically sorted actors
Easy Grouping of actors under null objects
Per-Actor Visibility states
Layer Coloring for organization
Modifier system for geometry, animation, and remote control
Filtering system for easy displaying only needed actors or modifiers
Options to not auto-expand actor hierarchies
Copy and paste modifiers. Geometry, animation, remote control.
Moving the pivot and group actors with hotkeys
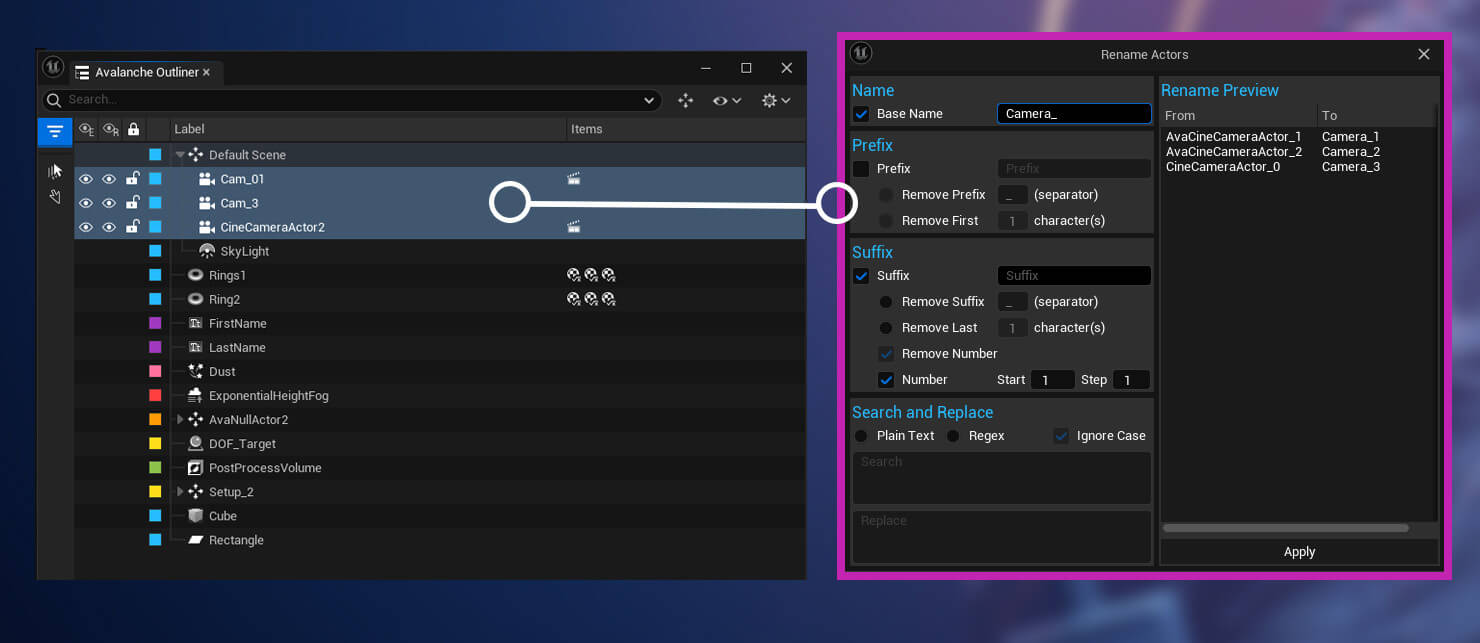
Batch Renaming actors
Another super important part of motion design is organization. This means proper naming conventions. In projects which can quickly become messy and overwhelming, this tool with help you batch rename actors and assets. This will let you keep an efficient, clean and organized workspace.
Outliner
Actor Rename Selected
Actor Rename Selected Class
Content Browser
Asset Rename Selected Asset
Asset Rename Asset Class
Features
Base Rename
Prefix – Add, remove, Numerate
Suffix – Add, remove, Numerate
Search and Replace
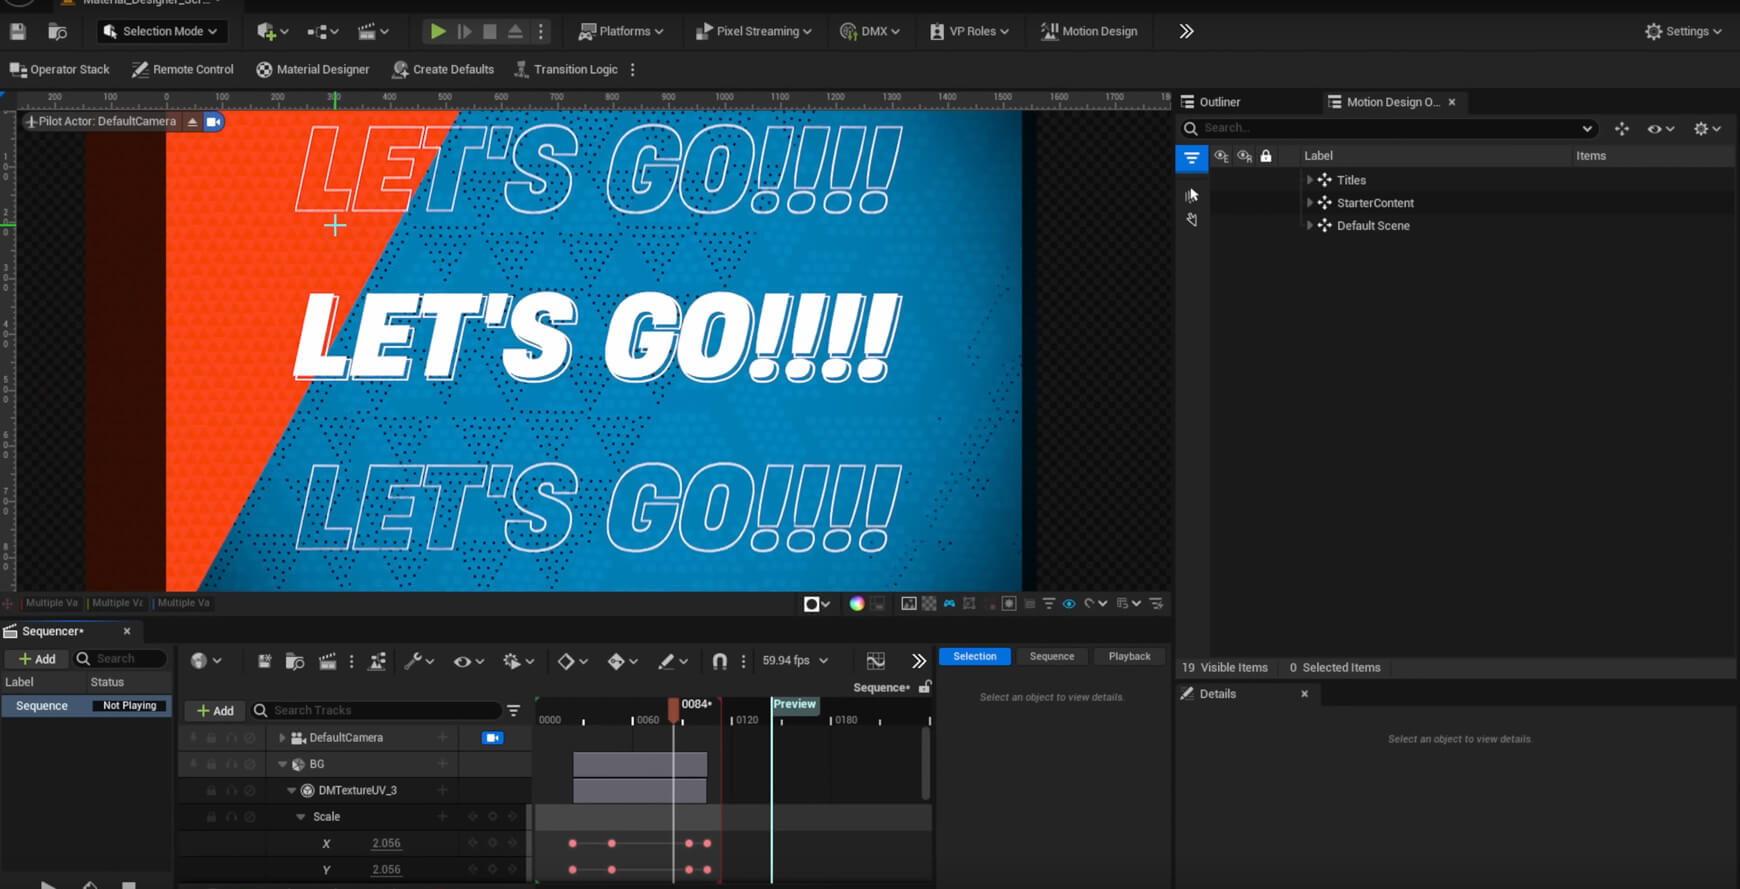
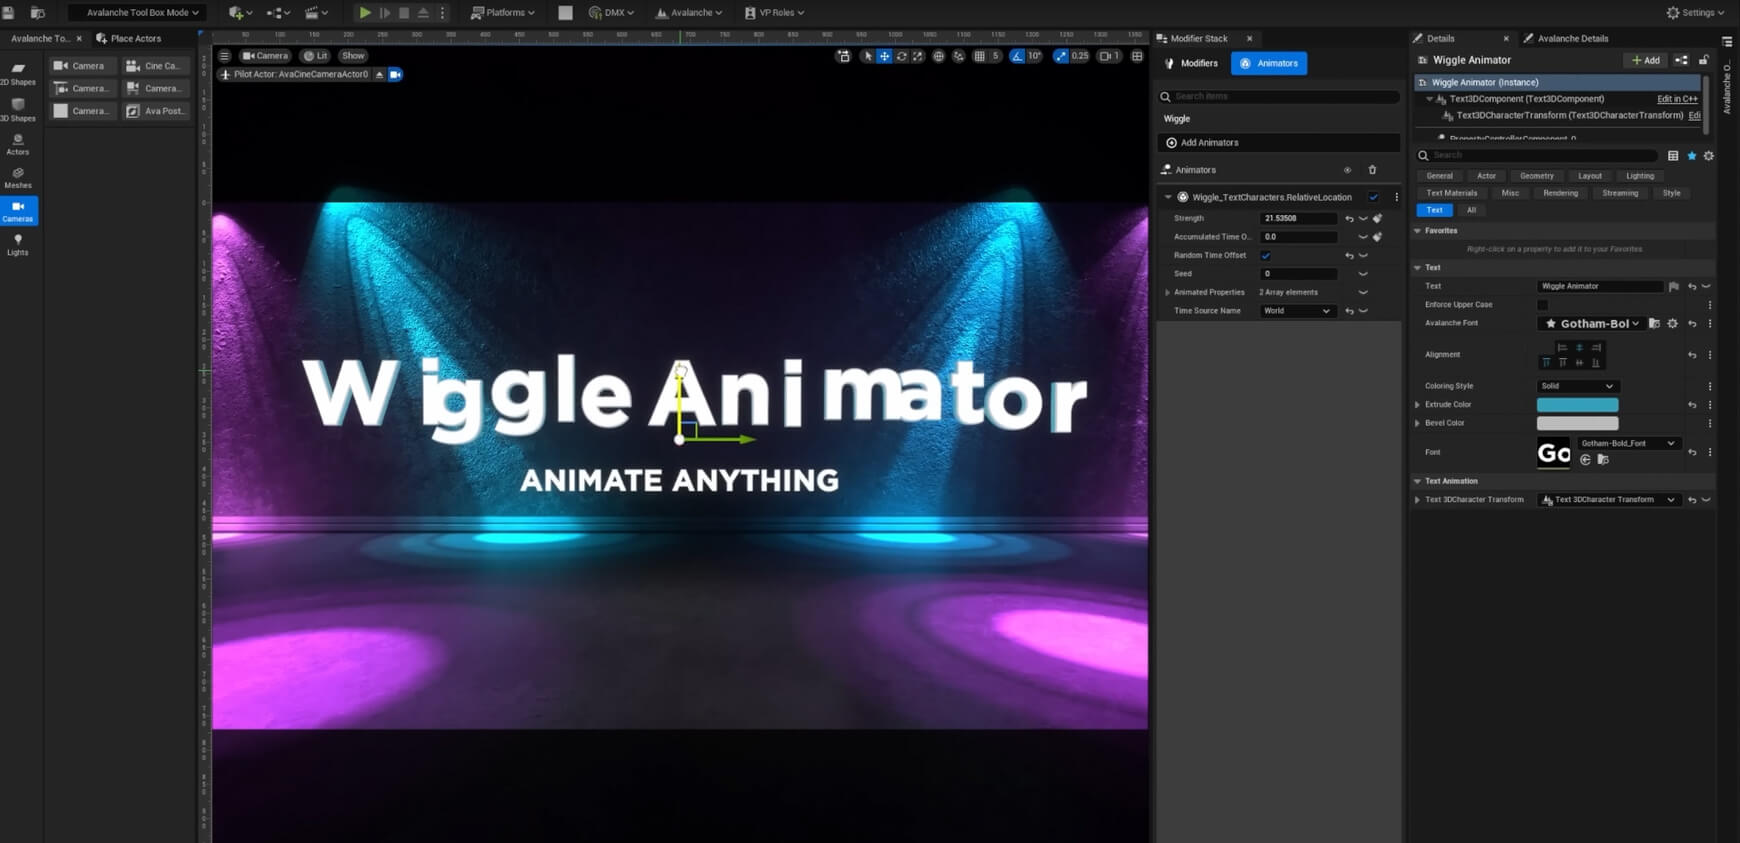
With this tool, motion graphics artists can add procedural animation to nearly any property. You can easily add dynamic effects such as wiggle, bounce, oscillation, and random animations. Animation Functions include: Sin, Cosine, Square, Inverted Square, Sawtooth, Triangle, Bounce, Pulse and Perlin.
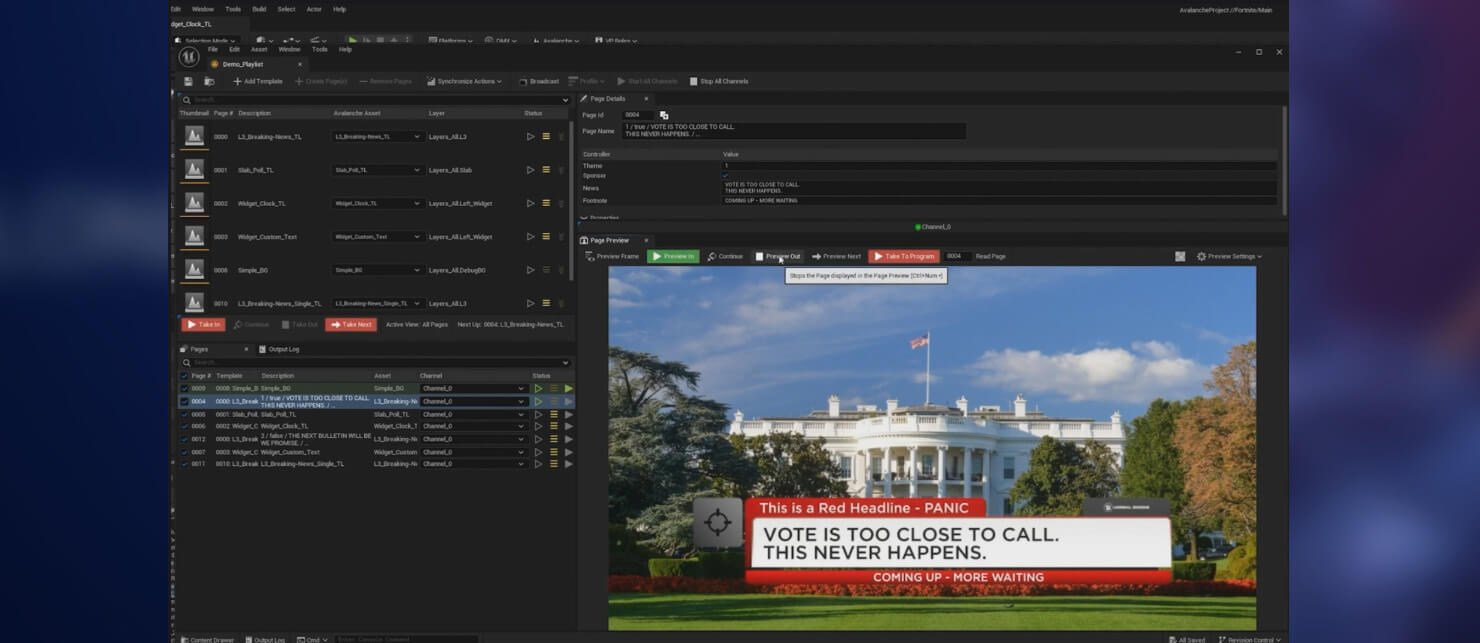
In live television, the seamless presentation of multiple on-screen elements and perfect transitions is key. Transition logic helps control the entry and exit of elements during live shows.
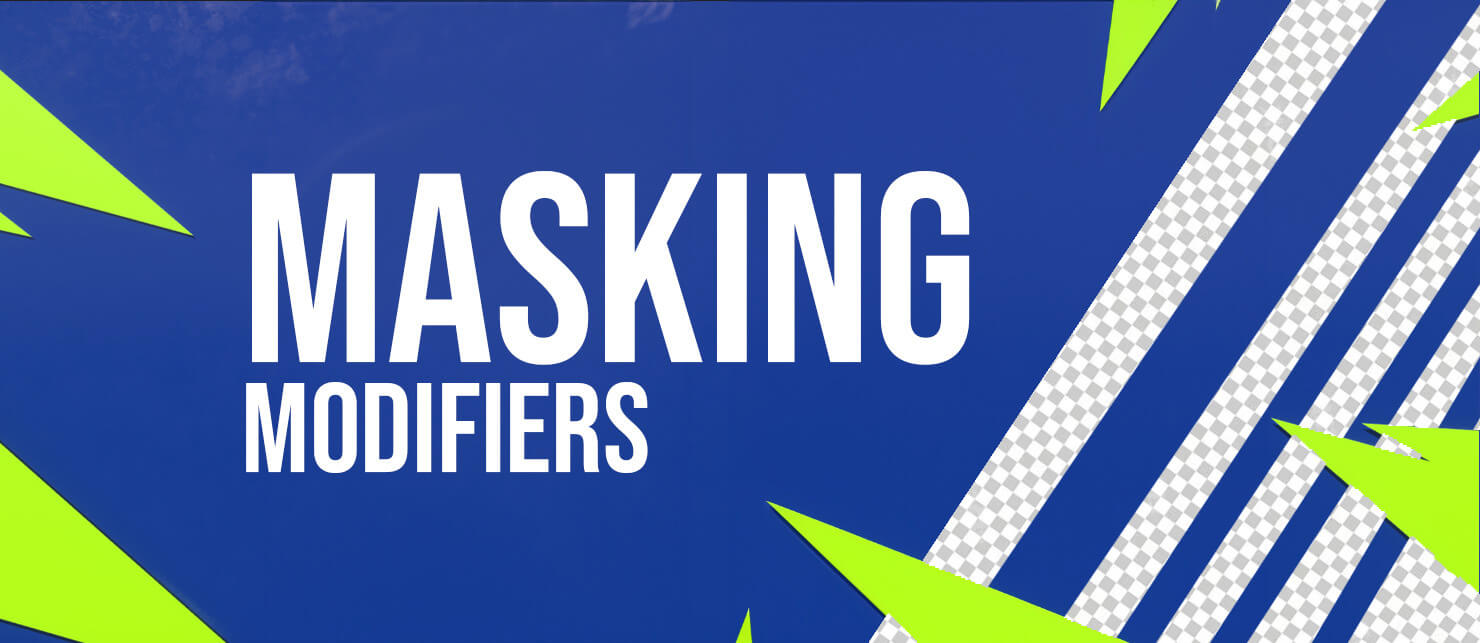
Masking is a key element for motion design. This new feature offers various forms of masking, focusing on speed and efficiency.
Opacity: Easily fade out any on-screen element with the opacity control. Integrated seamlessly into the Material Designer, it provides a straightforward way to achieve smooth transitions with native support.
Texture: Simply apply a texture as the source for masking specific portions of a 3D model.
Geometry Mask: Utilize a source piece of geometry to create masks for well-defined edges, offering a simple yet effective solution for your masking needs.
There you have it! A ton of incredible features and tools to salivate over. Here are some other resources for you if you want to learn more or dive into Unreal.
Get comfortable working with Unreal with this beginners course designed for motion designers from Jonathan Winbush. By the end of this course, you will learn how to import assets, world build, animate, and create cinematic sequences all in real-time. You’ll also learn how to work with materials, lights, and cameras so you’ll be able to create amazing 3D renders in no time.
As we enter this new era I hope you take the time to check out our incredible Unreal Materials for Motion Graphics! We also have a full lineup of packs which I think you will love. Good luck in your journey if you are diving into Unreal. After this update, I think we should all at least familiarize ourselves with it. I have a feeling it will be time well spent 🙂
If you want more, check out our VDB and VFX Elements which are all compatible with Unreal. Get explosions, fire, clouds, smoke, water and more for your next project!